My Apps
Astral Journal
Astral Projection Journal App
A personal journal to track your astral projections, out of body experiences and lucid ...
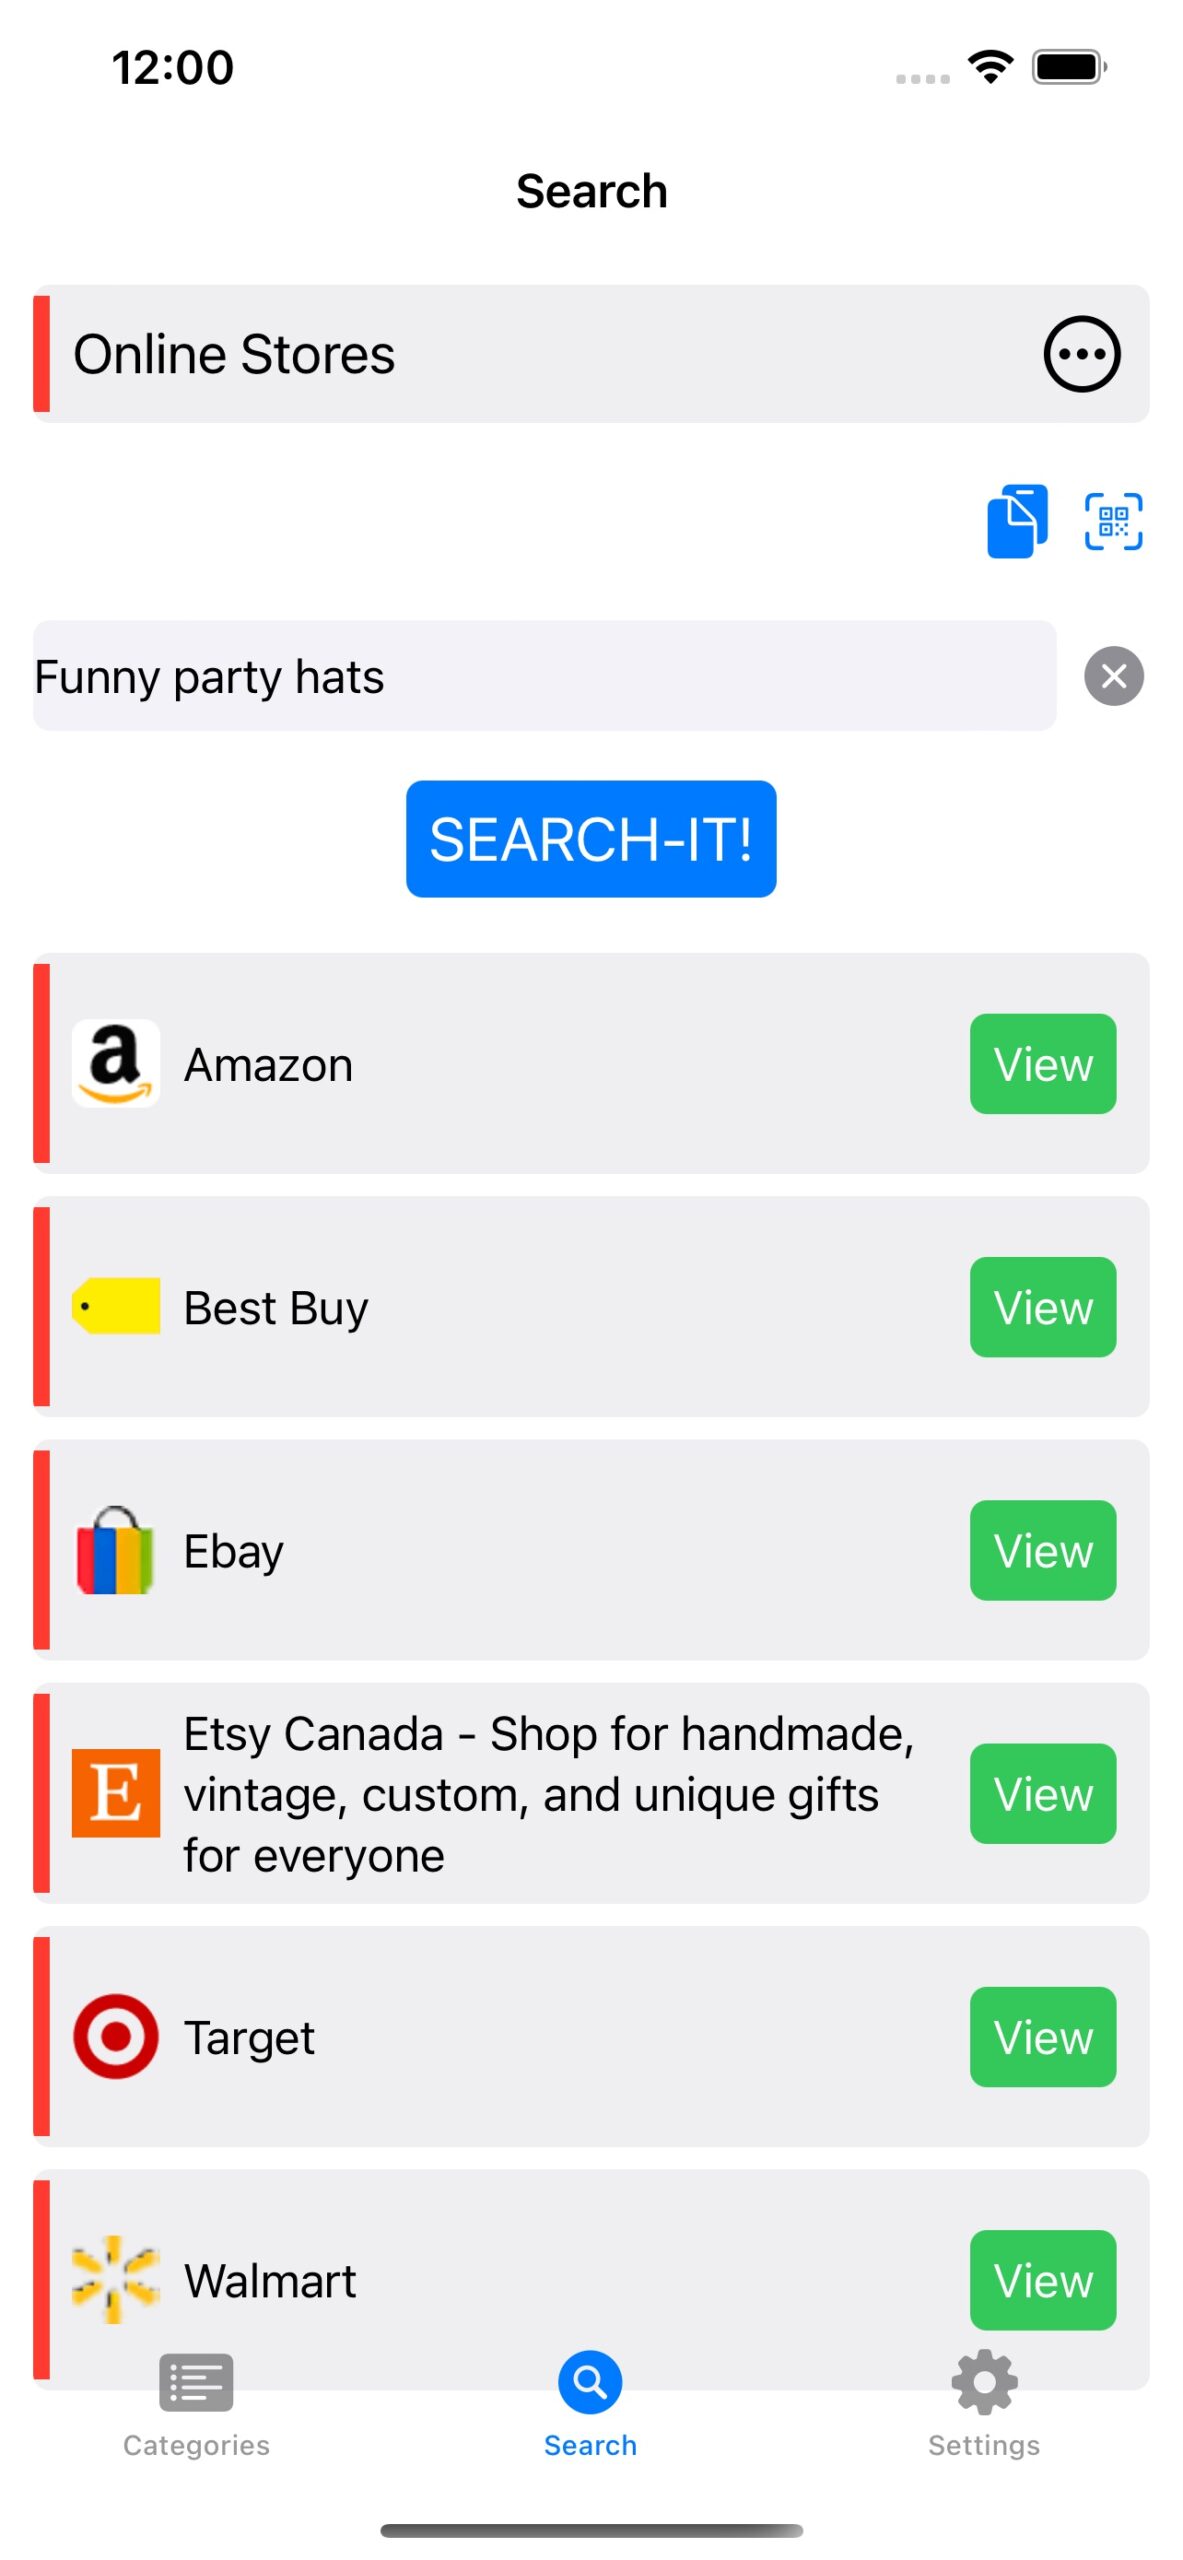
Search-it – The web search app
Find the right thing from your best websites.
Search-it searches for any keywords among different websites. Search-it can be us...
Share-it – App For Bloggers
Quickly share your favorite blog posts!
Share-it makes blogging and post sharing much easier, no need to subscribe ...
Articles
Search-it 1.0 is now available
16 February 2023
Search-it is a safe and easy way to search the web.
The purpose of Search-it is to directly search from your favorite blogs or websites by using the built-in function of the websi... 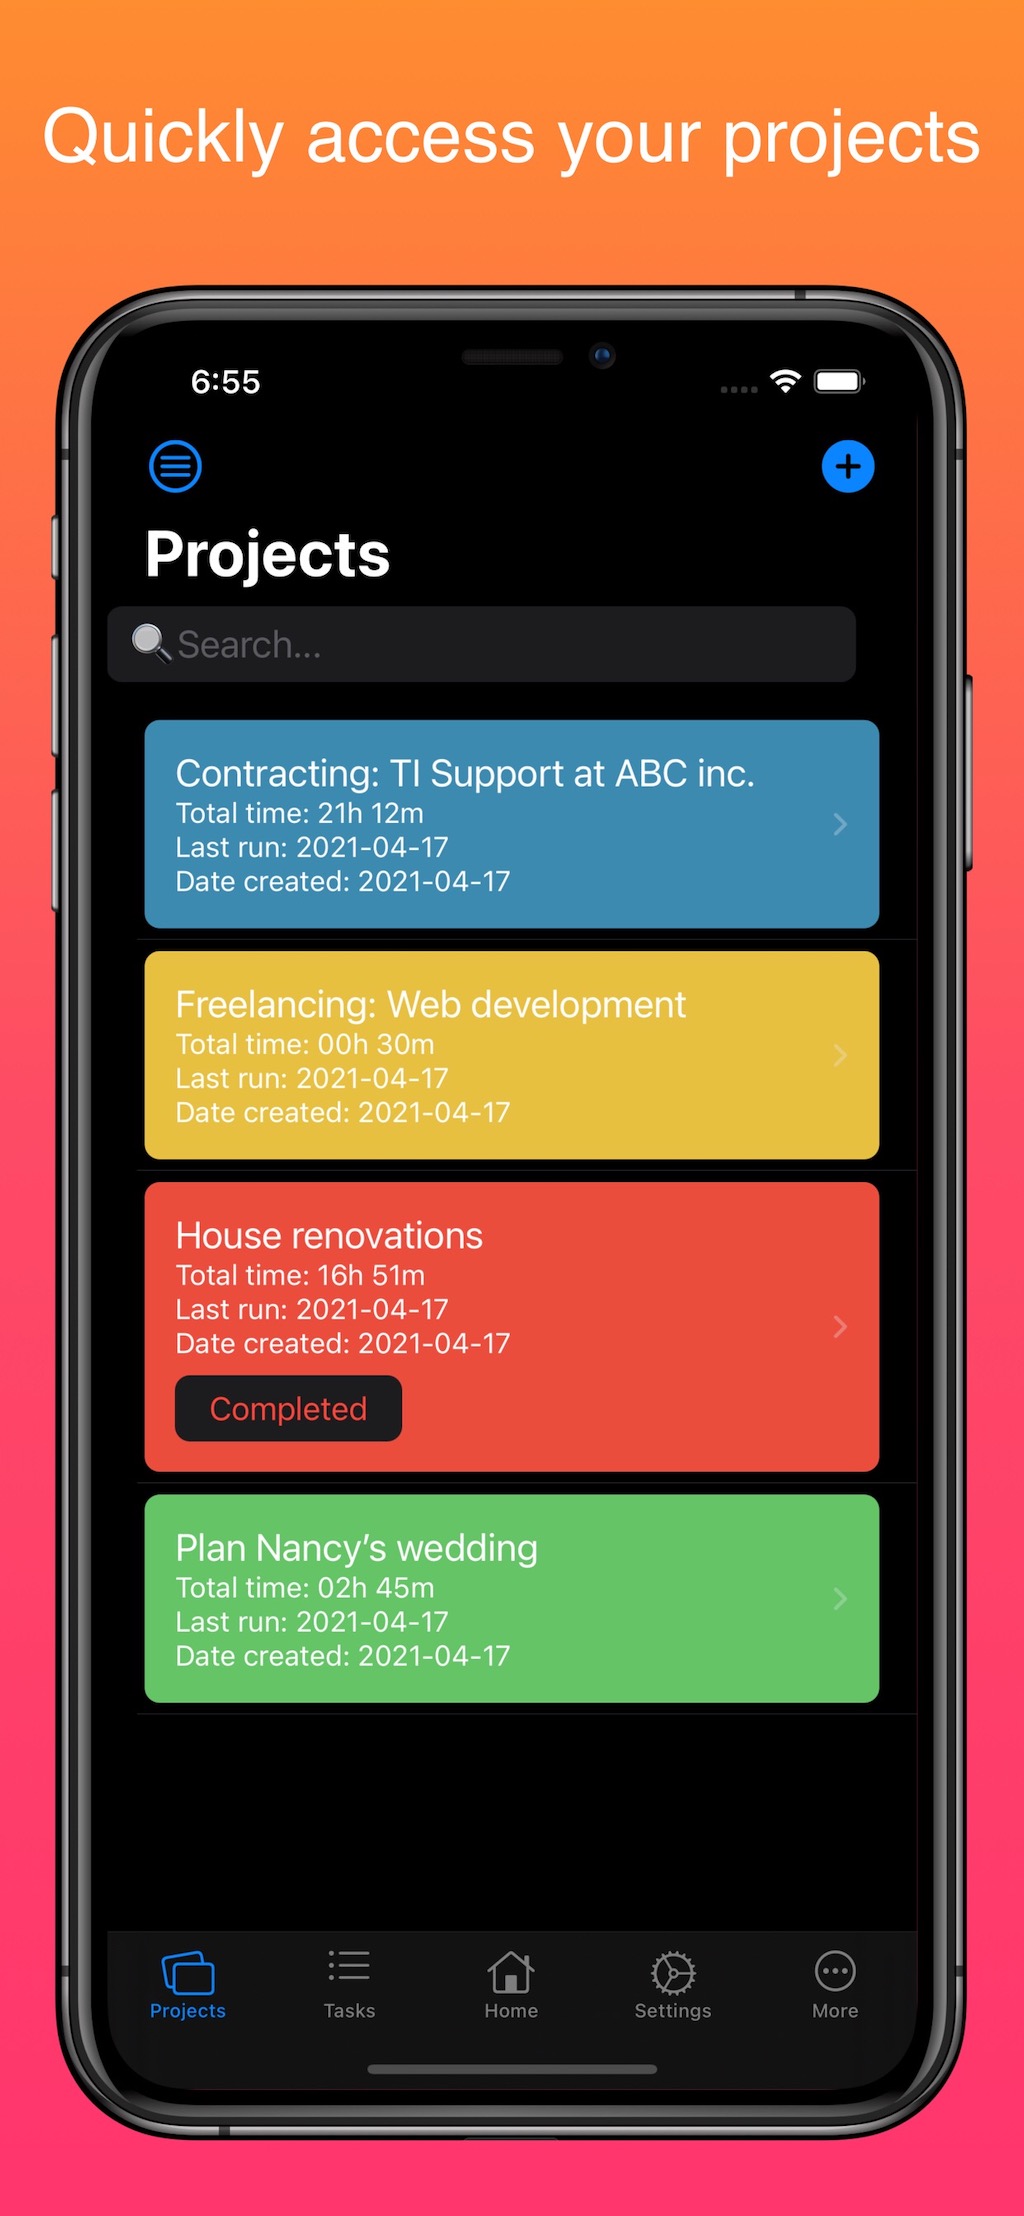
HoursCal 1.0 is here!
9 March 2022
Good news, I’ve finally released HoursCal 1.0 on the App Store.
After many months of coding and testing, I’m really proud and excited to launch this initial release of HoursCal.
... 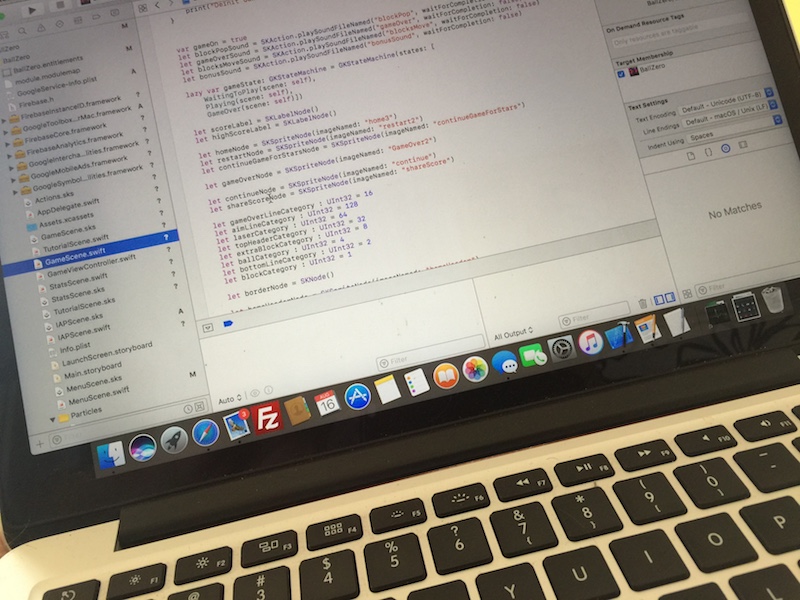
How I’ve reduced my anxiety and my stress through programming
29 August 2020
Programming allows me to reduce my anxiety, to reduce my stress, and to calm the little hamster that runs into my head.
In 2016, depression, stress, and generalized anxiety disord... 
Who am I ?
8 July 2020
My name is Sylvain Lafrance, I’m from Québec, Canada. Before beginning, English is not my main language. Please excuse any mistakes I could have done in my posts.
As far as I can remember...